
If you’re a consultant then you probably have had requests for your external IP address for white-listing so that you can be granted access to a staging environment. This is normal. You might be lucky enough to work at an office that uses a static IP, in which case you can ignore this post if you never take work home or to meetings with you.
Many IP addresses are dynamic, so they will be periodically reassigned by your ISP (e.g. when someone you live with turns off the router). It would also mean that they are opening the door to everyone sharing the public IP. These can be a headache, and is a good way to get some low-level grit into a server admin’s routine which they can compound into a pearl-of-hatred for SEO. Try to avoid this.
Use a Proxy
Whilst a proxy is great, a proxy that you don’t control isn’t so appealing. A dedicated private proxy you can connect to directly will work for this purpose, so if you have any of these for rank tracking purposes that you trust to access your clients staging servers, they’ll do. If not, keep reading.
Installing a Proxy on a VPS
In this post I’m going to show you how to quickly set up a simple HTTP proxy on a VPS (virtual private server), you can access anywhere from the world. At the end of this you’ll not only have a static IP for SEO work, but a server that you can use for decadent tasks to keep your own CPU free (e.g. bulk losslessly optimising images overnight using image_optim).
I’m currently using Digital Ocean on their $5 p/m option, and I’ve found this to be more than sufficient for my needs. You’ll get $10 free credit (so, two months) added after signup through this link.

Any Debian based (e.g. Ubuntu) VPS should work for this purpose, though, so shop around if you have time. If you don’t want to think, use this link and give them $5 via PayPal.
The first thing you’ll need to do is connect to your newly registered VPS via ssh. You’ll need the location of your VPS server (this is the static IP you will provide to clients) and your username and password (or ssh key).
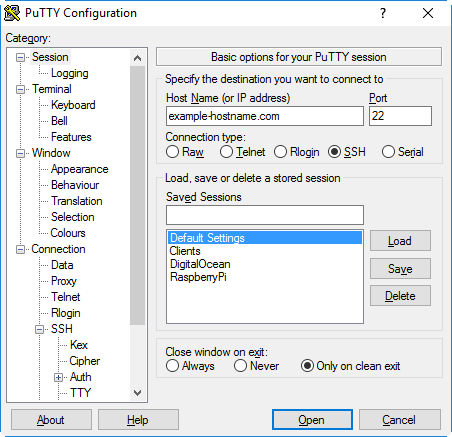
If you’re on Windows, download and install putty, or Ubuntu on Windows. If you’re on Mac or Linux, open your terminal and type:
~$ ssh root@insert-ip-address
You’ll then be challenged for the root password. Once in, we’ll look at installing squid proxy. On a Debian server, you can install Squid3 with the following command.
~$ sudo apt-get install squid3
Once this is complete, we need to edit the configuration file. I recommend using the text editor nano for this.
~$ nano /etc/squid3/squid.conf
The first thing we’re going to try is changing the port:
- In nano, press CTRL+W to bring up the find function. Type ‘Squid normally listens‘ and hit RETURN.
- Change the port number below to something else.
- Remember what you’ve changed it to.
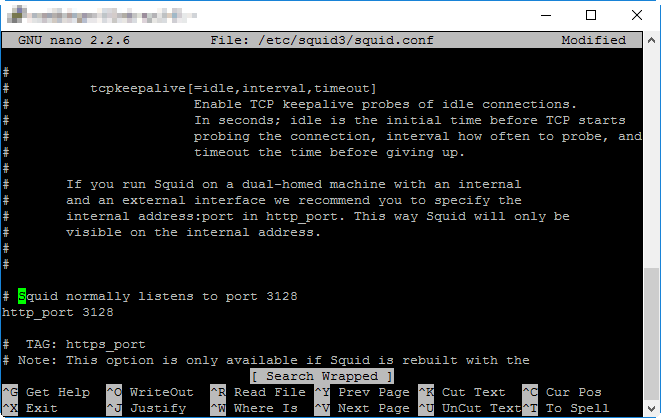
To quit nano, hold the CRTL key and press X. Then type ‘Y’ and hit RETURN to save your work. Once you’ve finished editing the config – restart Squid
~$ sudo /etc/init.d/squid3 restart
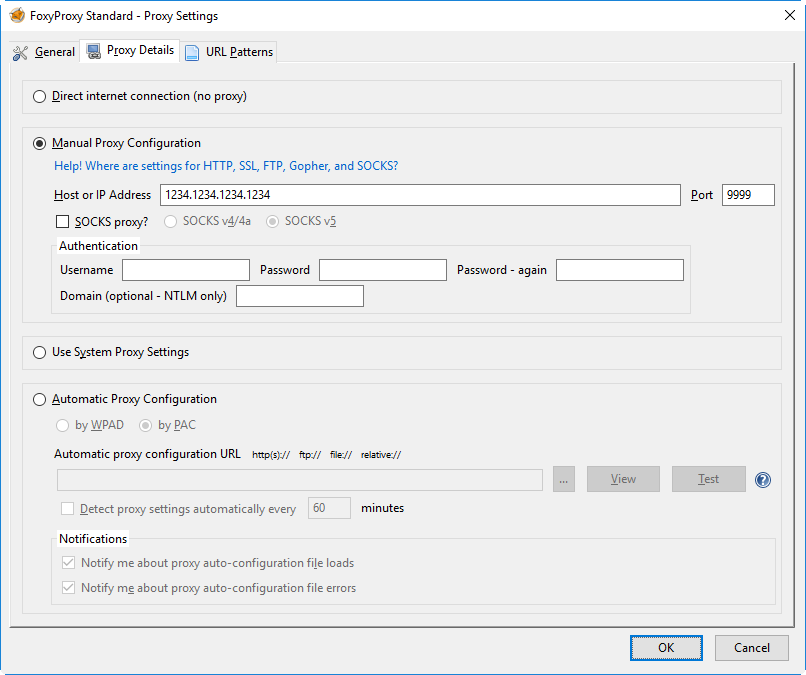
The proxy should now work for anyone with the IP:PORT combination, and can be configured with your browser and crawler of choice:
If you do not care about other people/bots making use of the proxy you’ve configured you can stop here.
If you’re lucky enough to have a static IP at home (or be working with a saint-like developer) then you can set up the proxy on a raspberry pi instead, so you can use it when traveling.
Granting Password Access
You can just leave the proxy open and it’ll work for anyone who has or tries the IP:PORT combination. That’s not a great idea though (unrelated but worth a watch).
If you want to share access to the proxy with coworkers, then using a password is a decent option.
We need to create a user, and create a password for that user. We also need to tell squidproxy that it should use this username and password for authentication. To do this type:
~$ htpasswd -c /etc/squid3/passwd [insert-username]You’ll then be prompted for a password. Once this is set, add the following:
~$ nano /etc/squid3/squid.conf
###password authentication
auth_param basic program /usr/lib/squid3/basic_ncsa_auth /etc/squid3/passwd
auth_param basic children 5
auth_param basic realm [title-of-authentication-popup]
auth_param basic credentialsttl 2 hours
auth_param basic casesensitive off
acl ncsa_users proxy_auth REQUIRED
http_access allow ncsa_users

###uncomment and use instead if using dynamicdns
###acl vanity srcdomain [myhostname.dynamicdns.com]
###http_access allow vanity
Followed by restarting the service:
~$ sudo /etc/init.d/squid3 restart
Squidproxy can be set to allow traffic based on the hostname origin. Using a free dynamicDNS service like noip, you can set up access from your home (using your router settings) or mobile (using a dynamic DNS app), instead of using a password. You can then tether your laptop to your mobile.
Further Configuring Squid Proxy
The configuration file /etc/squid3/squid.conf contains a large number of options that we’re going to be interested in changing, and acts as a manual for configuring the application.
You can read through everything, but I’d recommend using the settings (including the optional ones and explanation) from this post.
cache deny all
request_header_access Allow allow all
request_header_access Authorization allow all
request_header_access WWW-Authenticate allow all
request_header_access Proxy-Authorization allow all
request_header_access Proxy-Authenticate allow all
request_header_access Cache-Control allow all
request_header_access Content-Encoding allow all
request_header_access Content-Length allow all
request_header_access Content-Type allow all
request_header_access Date allow all
request_header_access Expires allow all
request_header_access Host allow all
request_header_access If-Modified-Since allow all
request_header_access Last-Modified allow all
request_header_access Location allow all
request_header_access Pragma allow all
request_header_access Accept allow all
request_header_access Accept-Charset allow all
request_header_access Accept-Encoding allow all
request_header_access Accept-Language allow all
request_header_access Content-Language allow all
request_header_access Mime-Version allow all
request_header_access Retry-After allow all
request_header_access Title allow all
request_header_access Connection allow all
request_header_access Cookie allow all
request_header_access Proxy-Connection allow all
request_header_access User-Agent allow all
request_header_access All deny all
forwarded_for off
Then:
~$ sudo /etc/init.d/squid3 restart
That’s all. To summarise: Digital Ocean ($10 free) on their $5 p/m option, or any other Debian-based VPS which can run squid proxy.