
I previously mentioned this feature in my Brighton SEO Talk back in April. It’s been included in the August 2nd Anniversary update for Windows 10, so should be significantly more stable than the ‘Fast’ developer builds I was previously using it on.
This is very welcome, especially if you’ve previously relied on Cygwin, Gow, or had to SSH into another box to use basic utilities.
Why would I do this?
So you can do things like reinsert headers into filtered server logs easily. Reading the brighton post should get some of the benefits across.
Installing Ubuntu on Windows:
To get started, make sure your Windows 10 install is up to date.
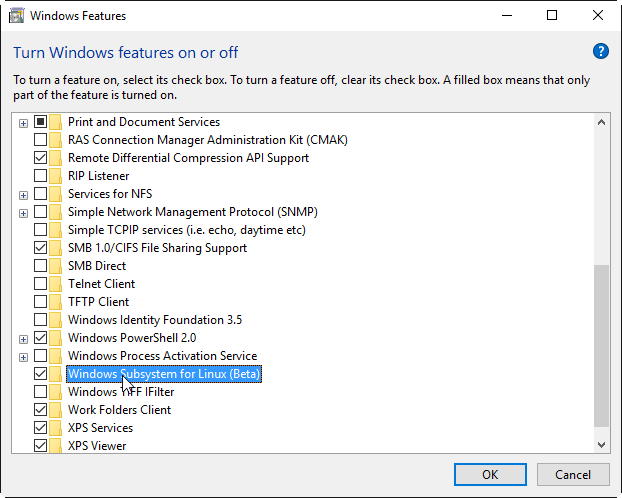
Once done, type ‘windows features’ into the Windows Search Bar. Open “Turn Windows features on or off” and check the box marked “Windows Substystem for Linux (Beta)”.
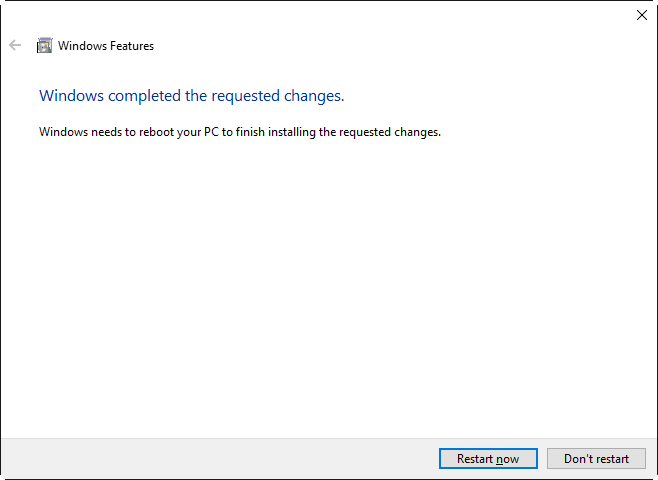
Once restarted, open the windows command line (cmd), type ‘bash’, and hit return.
When prompted, type ‘y’, hit return.
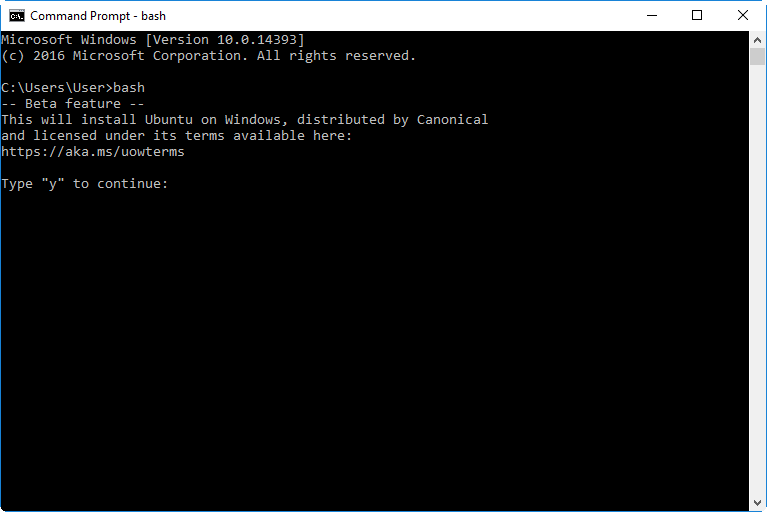
Windows will now download Ubuntu for Windows from the Windows Store.
When requested, enter a username for the bash environment, and enter the password you’ll use with this username twice.
That’s it. You’re now using bash. To drop back to the windows command line:
$~ exit
And to go back to bash from the Windows command line:
C:\Users\User> bash
Test installing an application
From the bash shell type (after the ‘~’):
$~ sudo apt-get install cowsay
Enter your password when requested. If the installation looks to have gone smoothly, try the new application out using the following command:
$~ cowsay moo

Welcome.